
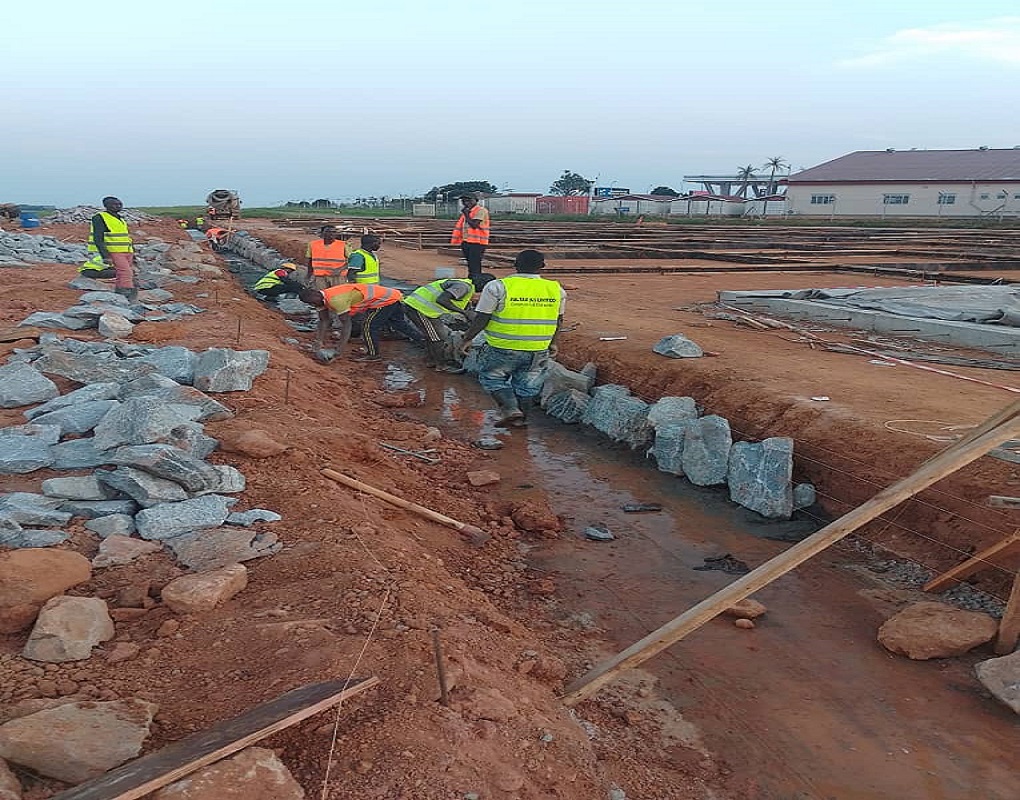
Follow water from sky to safe discharge
A dry home depends on more than a damp-proof course. Rain lands on roofs, yards, neighbouring land and access roads, then follows gravity. A site and topographic survey should establish these paths before the architect fixes floor level. The drainage design must show how water is collected, conveyed, stored, infiltrated or discharged lawfully without flooding neighbours or eroding slopes.
Roof area, rainfall assumptions, gutter falls, downpipes, tank overflow and ground drainage need coordination. A rainwater tank can reduce demand for suitable non-potable uses where properly designed, but it does not remove the need for a safe overflow. Connecting every downpipe to a tiny soakaway without assessing soil infiltration and groundwater can simply move moisture beside the foundation.
Keep ground and building details working together
Finished compound levels should generally direct surface water away from the building toward designed collection points. Door thresholds, ramps and driveways must not create channels into the house. Retaining walls need engineered drainage and stable outlets; trapped water can add significant pressure. On sloping sites, intercepting runoff may be necessary, but diverting it onto another property is not an acceptable solution.
Moisture control within the building may include a specified damp-proof membrane under floors, damp-proof course in walls, waterproofing in wet areas, sealed service penetrations, roof flashings and adequate ventilation. Exact materials and details depend on the design and site. Membranes torn during following work or bridged by external soil cannot perform merely because they appear on a drawing.
Diagnose damp by pattern and source
High-level stains after rain can indicate roof, flashing or gutter leaks. Local damp near a bathroom may relate to plumbing or waterproofing. Low-level moisture can involve external ground, a bridged barrier, leakage or poor ventilation. Condensation behaves differently from water entering through a wall. These clues guide inspection but are not a remote diagnosis.
- Photograph the location before repainting.
- Note weather, plumbing use and how the mark changes.
- Inspect gutters, downpipes, external levels and drainage safely.
- Use competent testing rather than repeatedly applying surface coatings.
- Repair the source and allow drying before restoring finishes.
Maintain the designed path
Leaves, silt, waste and later landscaping can block drains or raise soil against walls. Inspect gutters, tank overflows, channels, catchpits, covers and outlets before wetter periods and after severe storms. Keep access for cleaning. Watch for erosion, settlement, persistent ponding and new development upstream that changes runoff.
Do not enter tanks, manholes or confined drainage spaces without trained personnel and proper controls. Do not connect stormwater to foul systems or public drains without confirmation that the connection is lawful and technically suitable. For repeated flooding, foundation concern or hillside movement, commission a site assessment from qualified professionals. Managing water across the whole plot is usually more effective than treating a damp wall in isolation.
At design review, ask for a simple marked-up plan showing roof catchments, downpipes, tank overflow, surface falls, channels, crossings, storage or infiltration and final outlets. Walk that route on site before construction and again before handover. If any segment depends on future work by a neighbour or authority, identify the risk and obtain the necessary permission rather than leaving an open-ended pipe.
Photograph underground drainage and measure its location before backfilling. Add access points to the as-built record so future owners can clear or repair the system without unnecessary excavation. Test the completed route using an approved method before landscaping hides low points and connections.
← Back to all construction insights